Spring and early summer – getting started with planting
Once your plot is prepared, mark out the beds or rows you plan to use, and start planting whatever crop(s) are appropriate to the season, following recommendations for spacing, fertilizer, etc. given in the quick reference guide to vegetable planting.
It’s tempting to think that you can or should plant your whole garden at once, but because some crops cannot tolerate cold at the beginning of the season, the garden will fill up only gradually.
Summer and early fall – planting and harvest
As you move through the summer and early fall, some plants will reach maturity and you’ll want to take them out, potentially replacing them with other crops (see garden plans for suggestions on how to plan out these successive plantings).
Other plants (long-season crops like parsnips or winter squash) will just stay in place, growing all season long.
Weeding is CRITICAL. You can do a little weeding each day, or you can weed thoroughly once a week, but if you wait more than a week to weed, you’re asking for trouble.
At this stage, watering can also be important, especially if there is no rain. It is likely that in almost any year you will need to water at least a few times, particularly after planting seeds into dry soil.
Fall – preparing for frost and dealing with it when it comes
As the days get shorter and the weather gets colder in the fall, some plants will begin to die even before there is a frost. Check the weather online or in the newspaper for predictions of the first frost in your area (“frost” occurs at or close to a temperature of 0 C/32 F).
When there is about to be a frost, there are a number of things you may wish to do in your garden before the frost, including harvesting all remaining tomatoes, peppers, eggplant, and cucumbers, and potentially covering some of your greens or other vegetables with floating row cover to keep them warm.
Besides protecting what you already have in the ground, you might want to consider the use of floating row cover or some other season extension technique like a cold frame to start a late crop of greens (especially spinach). With a cold frame, you can plant spinach in September and harvest it in October, November, or even early December.

Anything that is killed by frost will tell you that it has been killed – the leaves and stems will wilt and turn black, then quickly dry up. Frost-killed plants can be removed from the garden and put in your compost, but certain crops (pumpkins and winter squash, in particular) can be left in the garden through several more frosts, even though the plants themselves are dead.
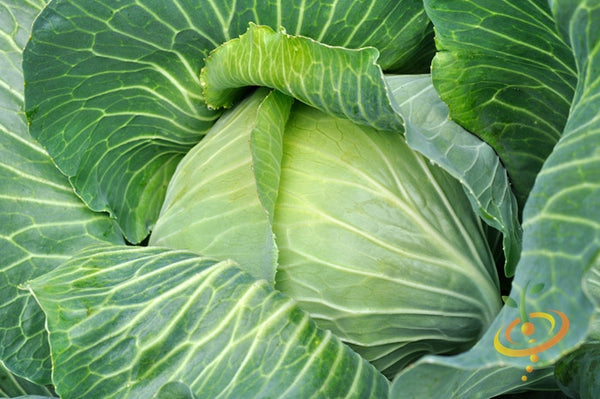
There will usually be a number of frosts before there is a “hard” frost (a “hard” frost occurs at temperatures near -4 C/25 F). A hard frost will kill much of what remains in your garden, though certain crops (particularly kale, broccoli, brussels sprouts, cabbage, and related plants) can survive a hard frost and even keep growing afterward if the weather warms up a little.
Late fall - preparing the garden for winter
As the weather becomes consistently cold (in late October and early November, in the upper Midwest), you can work at preparing your garden for winter. There are several aspects to winter preparation:
- cleaning and putting away tools,
-
use of mulch and/or planting of cover crops, and
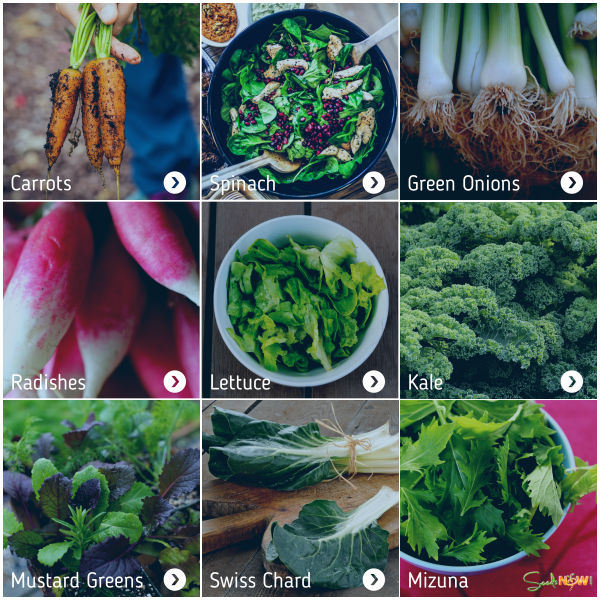
- planting of certain crops that will survive the winter and grow early in the spring (view a list of cold hardy plants).
Putting away hoses, sprinklers, and other tools should take relatively little time. Hoses and sprinklers always have some water in them, and when it freezes and expands, it can damage these tools. For this reason, hoses and sprinklers should ideally go in a place where they will not freeze. If this is not possible, put them in any sheltered place.
Now is also a good time to clean the soil off tools like spades, hoes, and rakes and put them in any sheltered place – cold alone won’t hurt these tools, but exposure to wind, rain, and snow will damage the handles and loosen the heads.
Dry off any floating row covers you may have used, fold them up, and put them away in a sheltered place. Gather up any wooden stakes and other wooden structures you have built and stack them under shelter to reduce rotting. Tomato cages and metal stakes should be pulled out of the soil but left outside – the exposure to the elements will help kill any disease-causing organisms that may be on them.
Whether you choose to mulch or plant a cover crop on your garden after your vegetables are gone is up to you (as a third option, many gardeners choose to do nothing at all, but just leave the garden exposed over the winter). Use of mulch is recommended – you could cover your whole garden with as much as 15 cm (6 in) of mulch in the form of newspaper, straw, or leaves, possibly putting compost, manure, or another soil amendment underneath the mulch.
Mulch will protect the soil from erosion caused by wind and water over the winter, protect perennials plants like asparagus and flowers from the damage caused by cold, prevent weed growth in the spring, and enrich the soil in the long term as it is incorporated in. Use of cover crops is more common on a farm scale than in the garden, and beginning gardeners are unlikely to want to use them, but you could choose to plant rye grass, hairy vetch, or another cover crop in any areas of your garden that are not occupied by perennials. If planted thickly, cover crops provide many of the benefits of mulch. Hairy vetch is a legume (it takes nitrogen out of the air and makes it available for plant growth), and it enriches the soil in a way that mulch does not.
Cover crops should be planted in late September or early October so they have a chance to get established before the weather become very cold.
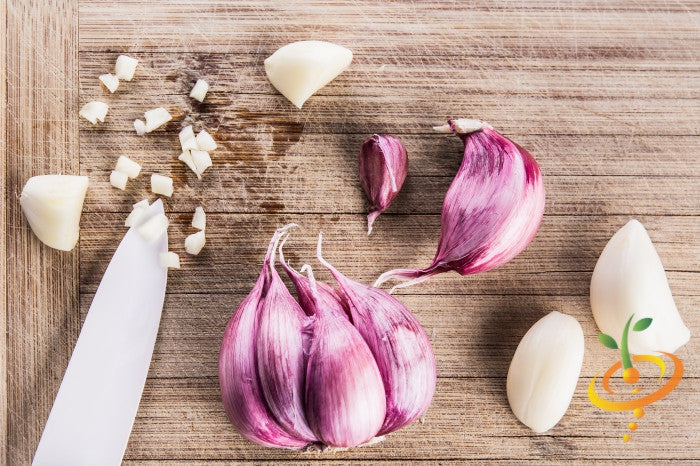
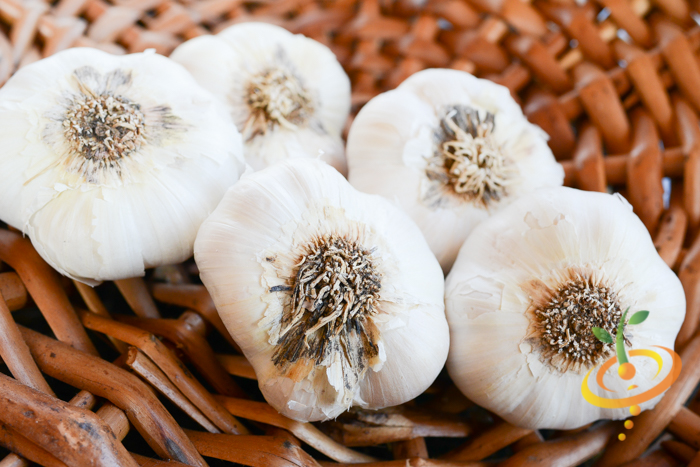
In October or early November, you may also wish to plant certain crops. While it can seem strange to put living plants in the ground when the air is cold and the soil feels colder, crops like Garlic and Artichokes can be planted at this time. These plants can tolerate cold and wet soils, and many will actually grow a bit before going dormant (sitting and waiting) through the coldest part of the winter.
Besides giving them a head start in the spring, planting these crops in the late fall means that you have less work to do in the spring. Potatoes and artichokes will not grow in the fall, but they are difficult to store inside through the winter, and they store very well in the ground.
Winter and early spring – resting and planning
When you’ve done however much (or little) work you want to do to prepare your garden for winter, there’s not much to do until January or February, which is when many gardeners start to think about what they want to grow and begin ordering seeds (enter the seed shop).
If you are interested in starting plants inside, February is not too early to begin preparing for this. Expanding seed starting soil pods will come in handy and make starting your seeds indoors much easier.
In March, in addition to starting plants inside, gardeners with cold frames (see season extension techniques) may use them either to start an early crop of greens (especially spinach) or to start plants like broccoli that will later get transplanted outside the cold frame.
]]>


 For detailed plant spacing info please visit: https://www.scotlandsarchitects.com/pages/grow-guide-table-of-contents


 ]]>
]]>